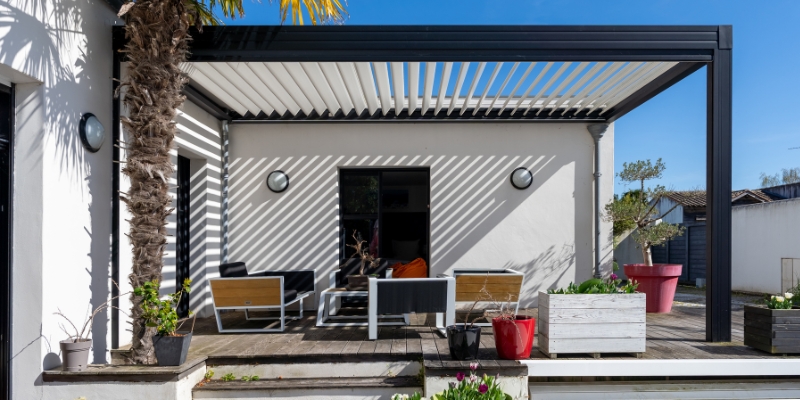
Have you ever wondered how to paint a pergola to give it a fresh, revitalized look?
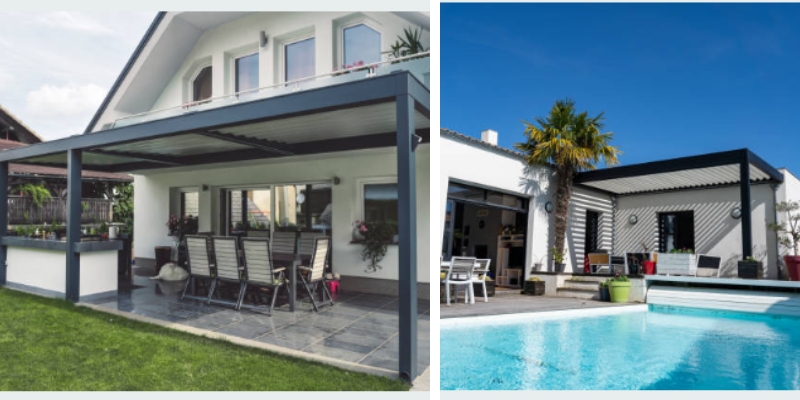
Whether it’s made of wood, aluminum, steel, or vinyl, a well-painted pergola can transform your outdoor space while improving the endurance of the material beneath, making it the perfect spot for relaxation and gatherings.
The answer to giving your pergola a new painted look involves using the right preparation, tools, and techniques.
In this comprehensive guide, we’ll walk you through the steps to ensure your painting project is a success, from choosing the best tools to understanding the nuances of different materials.
Understanding Different Pergola Materials And Their Paint Requirements
When planning to remove the flaking paint on your pergola and give it a new paint job recognizing the unique characteristics of the material you’re working with is crucial.
Not only does it influence the preparation needed, but it also determines the type of paint or stain required and the application method.
So, what are the specific traits of wood, aluminum, steel, and vinyl pergolas, and how do they impact your painting project?
Characteristics of Wood, Aluminum, Steel, and Vinyl Pergolas
- Wooden Pergolas: Wood is a classic choice for pergolas due to its natural beauty and versatility. However, being a natural material, it’s susceptible to the elements. Moisture can cause rot, while constant sun exposure can lead to fading and cracking. But with the right primer and paint, you can provide robust protection while enhancing its aesthetic appeal.
- Aluminum Pergolas: Aluminum, known for its durability and resistance to rust, offers a low-maintenance option. But beware: without the right type of paint, you might find your color fading or peeling due to non-adherence. Specialized paints that bond with metal are your go-to here.
- Steel Pergolas: Steel boasts strength but wrestles with rust. A meticulous painting approach involves removing any trace of rust, priming with a rust-inhibiting primer, and using paint suitable for metal surfaces.
- Vinyl Pergolas: Vinyl pergolas are celebrated for their resistance to moisture and decay. They require minimal maintenance, but painting them involves a unique challenge: they need a specific type of paint that adheres to their smooth, non-porous surface.
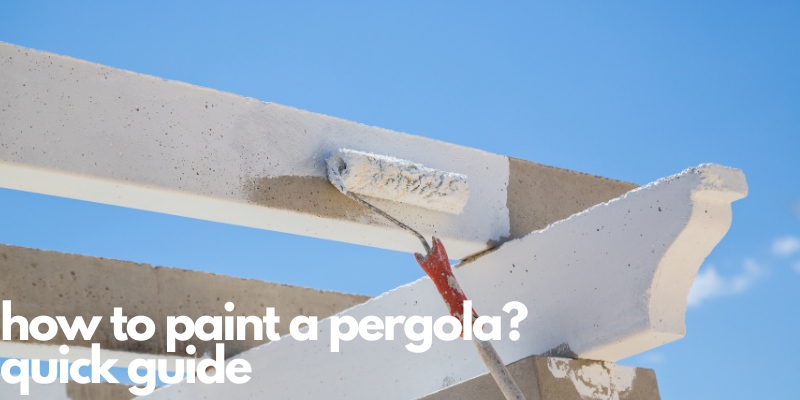
How To Paint A Pergola Quickly
Revitalizing your pergola involves more than a simple slap of paint; it requires careful preparation, the right materials, and attention to detail.
Let’s delve into the specific steps for achieving a professional, long-lasting paint job, starting with the ever-popular wooden pergola.
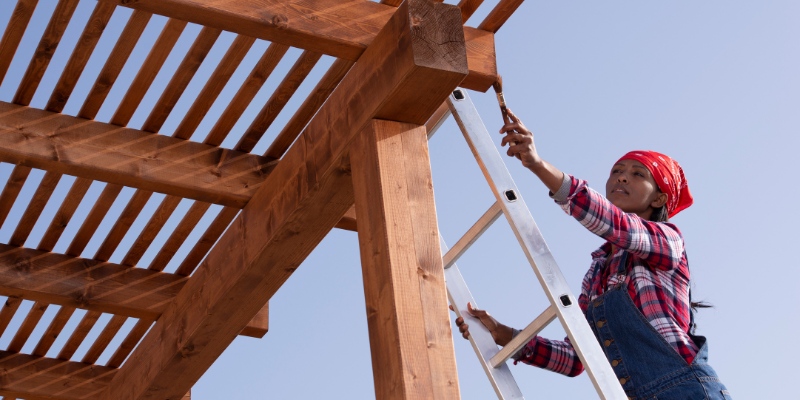
Wood Pergola
Wooden pergolas require a meticulous approach to ensure that the new paint adheres well and lasts longer.
Here’s how to go about it:
1. Sand the Surface: Before you can think about new paint, you need to deal with the old. Using sandpaper, gently remove any flaking or peeling paint from the previous coat. This process creates a smooth, clean surface for the primer and for the fresh coat to adhere to. Remember, thoroughness in this step sets the stage for everything that follows.
2. Apply Primer: Once you’ve sanded down the exterior wooden surfaces, it’s time for primer, a crucial step that many overlook. Primer serves as an undercoat, helping the paint stick better and revealing a vibrant color. Don’t forget to cover areas you want using drop cloths or tapes to ensure your work is neat and professional.
3. Painting the Pergola: Now comes the transformative part — applying paint. For the best results, two coats are the standard. The first coat acts as a base, providing the main layer of color and additional protection. After it dries, the second coat is applied to enhance the color’s richness and ensure even coverage. Patience between coats is key; rushing can lead to unsatisfactory results.
Aluminum Pergola
Aluminum pergolas stand out for their resilience; they’re more resistant to fading, and their color doesn’t deteriorate as quickly as their wooden counterparts. This durability makes them a popular choice, but when it’s time for a refresh, certain steps ensure the job is done right. Here’s how to repaint your aluminum pergola for a stunning outcome:
1. Sand the Surface: Even though aluminum pergolas are known for their durability, prepping the surface is still crucial. Use sandpaper to gently buff the pergola’s surface, removing any oxidized aluminum or rough patches. This step helps to create a smooth area for the primer to adhere to, ensuring longevity for your new color.
2. Pressure Wash the Surface: After sanding, the next essential step is to clean the pergola thoroughly, and there’s no better way to do this than with a pressure washer. This powerful tool can efficiently remove all the dust, old paint particles, and any debris from the sanding process, as well as any accumulated dirt or grime.
3. Apply Primer: Choosing the right primer is key for aluminum. Opt for a primer specifically designed for metal surfaces to ensure proper adhesion.
Apply a thin, even coat and allow it to dry completely. Don’t use a water-based primer, they are not recommended for metal surfaces. This layer will not only enhance the paint’s durability but also improve its look, making your pergola’s color pop against the garden backdrop.
4. Painting the Pergola: When it comes to painting aluminum, the type of paint you select matters as much as the application.
Use a paint formulated for exterior use on metal to guarantee the best results. Apply the first coat and wait for it to dry thoroughly before adding a second layer. This patience ensures thorough coverage and helps your pergola resist the elements, retaining its luster season after season.
5. Finishing with Sandpaper: Sometimes, certain areas may feel rougher than others after painting. For a uniform, smooth finish, lightly sand these spots with a finer grit sandpaper.
Be gentle to avoid scraping off too much of the exterior paint, focusing on achieving a sleek surface.
Starting with 1,500-grit sandpaper allows you to smooth out any imperfections gently. If available, progressing to 2,000 grit and beyond, up to 2,500 and finally 3,000 grit, offers an ultra-fine finish, elevating your pergola’s aesthetics to professional levels. However, caution is key; removing too much paint can undo all your hard work.
The Best Tools to Paint a Pergola
Selecting the right tools for your new coat for your pergola is more than just a matter of preference; it’s about ensuring efficiency, thorough coverage, and a professional finish. With various tools available, how do you decide which is best suited for your needs?
Brushes: Ideal for detailed work and precision, brushes allow you to paint intricate areas of your pergola that larger tools might miss. They’re especially useful for touch-ups and areas requiring more attention.
Rollers: For broader surfaces, rollers offer quick coverage. They’re designed to hold more paint, allowing for fewer dips and faster application. However, their size might make it challenging to navigate tight corners or intricate designs.
Sprayers: When it comes to efficiency and reaching those hard-to-access areas, sprayers are the best option. Often used by professional painters, not only are they perfect for applying paint, but they’re also exceptional for primers. Their ability to mist the material means they can access small spaces or places where rollers and brushes sometimes fall short. If you’re looking for a uniform coat and a tool that can navigate every nook and cranny of your pergola, sprayers are your best bet.
Final Tip
At last, remember, painting or even staining your pergola is more than a cosmetic upgrade; it’s about protecting your focal point from harsh elements and UV rays, ensuring it remains an inviting retreat.
Whether battling the sun’s intensity or harsh weather, a new coat of paint is a powerful shield, preserving your pergola’s beauty and structural integrity.
Remember, the key to successful exterior painting lies in meticulous preparation, understanding the material you’re working with, and choosing the right tools. Embrace these practices while painting a pergola, and your pergola will continue to enchant, providing a picturesque setting for countless future memories.